You know those cozy weekends when you just want to whip up something delicious without diving deep into a complicated recipe? Well, I’ve got just the thing for you: Cheeseburger Sliders! These bad boys bring all the joy of a classic cheeseburger, but in a small, delightful package that’s perfect for gatherings or just a satisfying dinner at home. I often turn to this recipe when I’m entertaining friends or even just indulging in some quality comfort food on a weeknight. Trust me, it’s a crowd-pleaser that never disappoints!
Why you'll love this recipe
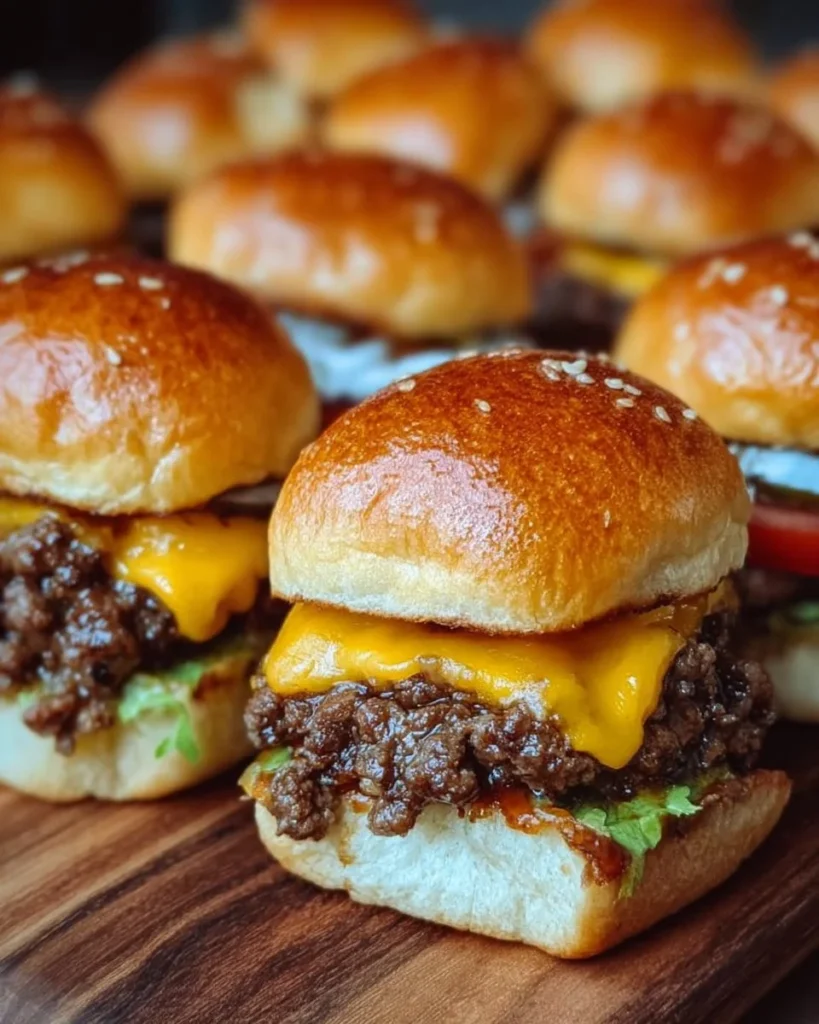
Let’s get real for a minute. Who doesn’t love a juicy cheeseburger? Now, imagine that glorious flavor packed into slider form—mini burgers that are not just cute but also versatile and perfect for any occasion. When you make these sliders, you’re not just cooking; you’re creating memories.
Picture this: a grilling session on the patio, laughter filling the air, and the aroma of sizzling beef wafting through the neighborhood. These sliders are the ultimate comfort food, designed to spark joy and satisfy cravings.
What makes this recipe particularly special is its simplicity. You use just a handful of ingredients that you might already have in your pantry. Plus, they’re incredibly customizable! Want to add bacon? Go for it! Prefer avocado over pickles? Absolutely! You’re the chef here, and this recipe serves as your canvas.
Gather these ingredients
Before diving into the magic of slider-making, let’s gather what we need.
-
1 pound ground beef: Aim for an 80/20 blend for that perfect balance of flavor and juiciness. Going leaner? Just be prepared for a drier patty.
-
1 teaspoon salt: This enhances the natural flavors of the beef.
-
1/2 teaspoon black pepper: A dash of spice to elevate your sliders.
-
1 tablespoon garlic powder: This is where the magic happens. It layers in a sweet, aromatic essence without the fuss of fresh garlic.
-
1 tablespoon onion powder: Adds depth and savory notes that make every bite irresistible.
-
8 slider buns: These small bites of heaven should be sufficiently sturdy to hold up against your juicy patties.
-
4 slices cheese (cheddar or American): Because what’s a cheeseburger without the cheese? You decide which creamy goodness suits your taste!
-
Toppings: Get creative! Think lettuce, tomato, pickles, ketchup, mustard... the sky's the limit!
Preparing Cheeseburger Sliders
Now that we’ve got our ingredients ready, let’s dive into the cooking process!
-
Preheat the oven to 350°F (175°C). This step is crucial as it prepares the perfect environment for toasting those buns later!
-
In a bowl, mix the ground beef with salt, pepper, garlic powder, and onion powder. Use your hands—don’t be shy! Get in there and blend everything together until just combined. Too much handling can make it tough, so be gentle.
-
Divide the mixture into 8 equal portions and shape them into small patties. Aim for about ¼ inch thick. They’ll shrink a bit while cooking, so don’t worry about them being too large.
-
Cook the patties on a skillet over medium heat for about 3-4 minutes on each side until browned. Pro tip: Don’t crowd the pan! Give each patty some room to breathe and develop that beautiful crust.
-
Place cheese slices on top of each patty and let them melt. Cover the skillet for a minute if you want to speed up the melting process. It’s like a cozy blanket of cheese!
-
Slice the slider buns in half and toast them lightly if desired. This step adds a lovely crunch that plays well against the juicy meat.
-
Assemble the sliders by placing a patty on the bottom half of each bun and adding your desired toppings. This is where you can get creative!
-
Cover with the top half of the bun and serve immediately. Don’t let them sit too long; sliders are best enjoyed fresh!
Best way to enjoy it
Now that your sliders are assembled, how can you make this experience gold-star worthy? It’s all about the sides! Pair them with crispy sweet potato fries or a refreshing coleslaw to bring a crunch complement. For drinks, think classic lemonade or a cold beer.
Remember to set up a toppings bar; let your family or friends build their perfect sliders. It makes for a fun, interactive dining experience.
Keeping leftovers fresh
Should you happen to have any sliders left (a rare occasion in my home!), here’s how to keep them at their best:
Storage: Place them in an airtight container in the fridge. They’ll last about 3-4 days.
Reheating: For the love of all that is cheesy, don’t use the microwave if you can help it! Reheat them in a skillet over low heat until warmed through, or pop them in the oven at 350°F for about 10 minutes. Get that cheese all melty again!
Freezing: These sliders freeze like a dream! Wrap each slider tightly in foil or plastic wrap, and place them in a freezer bag. They can be stored for up to 3 months.
Pro chef tips
Want to elevate this recipe even further? Here are some tidbits I’ve picked up along the way:
-
Don’t skip on seasoning: Make sure every ingredient counts. The right amount of salt can make or break your burger.
-
Experiment with your beef: Try different blends—mix some ground pork or turkey into the beef for a unique flavor profile!
-
Herb it up: Chop up some fresh herbs like parsley or basil and mix those in for a fresh take.
Creative Twists
Feel like shaking things up? Try these variations:
-
Spicy sliders: Add some diced jalapeños to the meat mixture or slather on some spicy mayo.
-
Gourmet style: Swap out the cheese for blue cheese and add caramelized onions for that upscale vibe.
-
Veggie option: Use black bean or chickpea patties for a plant-based twist. They'll hold up just as well!
Ingredients list
- 1 pound ground beef
- 1 teaspoon salt
- 1/2 teaspoon black pepper
- 1 tablespoon garlic powder
- 1 tablespoon onion powder
- 8 slider buns
- 4 slices cheese (cheddar or American)
- Toppings (lettuce, tomato, pickles, ketchup, mustard)
Directions to follow
- Preheat the oven to 350°F (175°C).
- Mix the ground beef with salt, pepper, garlic powder, and onion powder in a bowl.
- Divide the mixture into 8 equal parts; shape them into patties.
- Cook the patties on a skillet over medium heat; 3-4 minutes on each side until browned.
- Place cheese on top of each patty to melt.
- Slice slider buns in half; toast lightly if you’d like.
- Assemble sliders with patties and desired toppings on the bottom bun.
- Cover with the top half of the bun; serve immediately.
Your questions answered
Q: What's the prep time for these sliders?
A: You’ll need about 10-15 minutes of prep, then the cooking takes about 15-20 minutes. Perfect for a weeknight meal!
Q: Can I make these sliders ahead of time?
A: Absolutely! You can prep the patties a day in advance and cook them when you’re ready to serve.
Q: What can I serve them with?
A: Pair your sliders with fries, a fresh salad, or some crispy chips for the ultimate snack experience!
Q: Are there healthy alternatives?
A: Definitely! Use lean ground turkey or make veggie patties. You can even load up on fresh toppings for a healthier twist.
Q: Can I freeze the patties before cooking?
A: Yes! Shape them into patties and freeze individually on a baking sheet before transferring them to a bag. Cook from frozen when you’re ready!
Cooking should feel good, fun, and rewarding. And I truly believe that cheeseburger sliders are a great way to bring that happiness into your kitchen. So, gather your ingredients, throw on your apron, and dive into this delightful dish. Don’t be afraid to play around with flavors; make it your own! I'd love to hear how your sliders turn out, what toppings you tried, or any creative spins you put on them. Happy cooking!