Cookies and cream cookies have a special spot in my heart. Let me share a little backstory: I recall the first time I whipped up a batch during a sleepover with friends—everyone was eager to dig into the warm, gooey goodness. We laughed, chatted, and indulged in the perfect combo of crunchy Oreo bits and creamy white chocolate. Since then, this recipe has become my go-to secret weapon for parties, cozy nights in, or when I simply crave a taste of nostalgia. Now, I’m thrilled to share this treasured recipe with you!
Why you’ll love this recipe
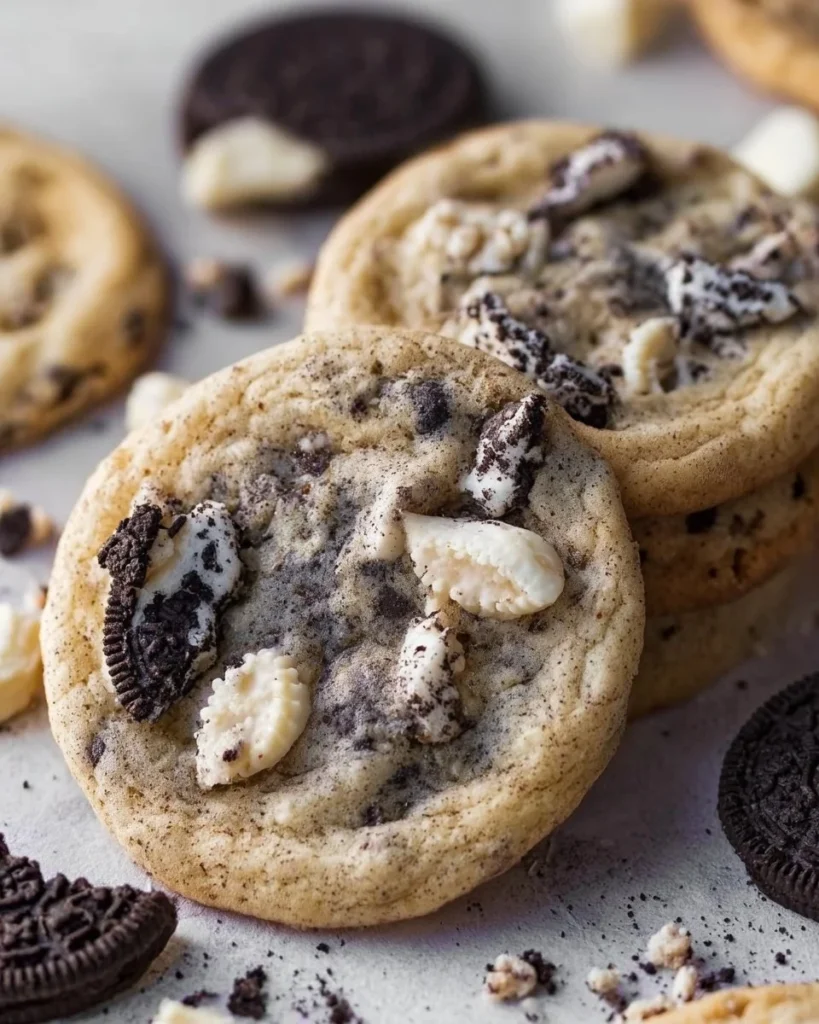
Imagine biting into a deliciously soft cookie, where the sweet, buttery base is interspersed with chunks of Oreos and melty white chocolate. What’s not to love? Not only do these cookies come together quickly, but they also deliver a flavor punch that’s simply irresistible!
These cookies strike a balance between cookie dough nostalgia and an upbeat dessert vibe that celebrates everything we love about cookies and cream. With each bite, you're met with crisp chocolate cookie particles and creamy white chocolate that elevates the original concept of a “cookie.” Plus, they’re unmistakably simple to make—perfect for both beginner bakers and seasoned pastry pros alike. Trust me; once you take that first warm, gooey bite, you’ll be hooked!
Gather these ingredients
Let’s talk about what you’ll need to create this delightful journey of flavors:
- All-purpose flour: You'll need 1 cup + 2 tablespoons, which acts as the backbone of your cookie. It gives them structure.
- Cornstarch: Using 1 teaspoon adds a touch of softness—a secret to that melt-in-your-mouth texture.
- Baking powder and baking soda: Together, these leaveners will help your cookies rise beautifully. For this recipe, you’ll need 3/4 teaspoon baking powder and 1/2 teaspoon baking soda.
- Salt: Just a pinch (1/2 teaspoon) balances out the sweetness perfectly.
- Unsalted butter: Let’s use 4 tablespoons of this, softened to room temperature. It contributes richness and flavor—don't skip it!
- Granulated sugar: At 1/2 cup + 2 tablespoons, this sweet ingredient ensures your cookies have just the right amount of sweetness and crispness when baked.
- Egg: A large egg binds everything together for a cohesive dough.
- Vanilla extract: One teaspoon of this lovely essence adds a warm, inviting flavor that enhances every bite.
- Oreo or chocolate sandwich cookies: You’ll toss in 10 coarsely chopped cookies, bringing those chunky bits of nostalgia you've been craving.
- White chocolate chips: Half a cup gives these cookies a creamy punch that harmonizes beautifully with the Oreos.
The cooking process explained
Okay, let's get cooking!
-
Preheat the oven to 350°F (175°C): This is your first step, as a hot oven is crucial for that perfect cookie texture. Line two baking sheets with parchment paper or silicone mats—easy cleanup is key!
-
Mix the dry ingredients: In a small bowl, whisk together your flour, cornstarch, baking powder, baking soda, and salt. This step ensures that your leavening agents are well-distributed throughout the flour. Set it aside and let those flavors mingle.
-
Cream the butter and sugar: In a large mixing bowl, beat the softened butter with the granulated sugar using an electric mixer on medium speed. This might take 2-3 minutes until it’s fluffy and pale—this aeration is crucial to light, airy cookies.
-
In goes the egg and vanilla: Add the large egg and the warm vanilla extract, mixing until everything is smooth and lump-free. Don’t forget that trusty rubber spatula to scrape down the sides!
-
Combine wet and dry: Reduce your mixer speed to low and gradually mix in those dry ingredients. Just until the cookie dough forms—overmixing is a crime!
-
Fold in the fun stuff: Delicately stir in the chopped Oreos and white chocolate chips, distributing them evenly through the dough. The sweetness of the chips alongside the crunchy texture of Oreos equals perfection.
-
Cookie scoop time: Use a small cookie scoop (about 2 tablespoons) to portion out the dough. Gently roll each scoop into a ball and place them on your prepared baking sheets. Slightly flatten them for a more attractive finish.
-
Bake and cool: Bake for 8-10 minutes until the edges appear set but the centers may look a tad underbaked—that’s perfectly fine! Let them cool on the sheets for a few minutes before transferring them to a cooling rack. Trust me; the anticipation will be worth it!
Best way to enjoy it
These cookies shine on their own, but why stop there? Consider pairing them with a glass of cold milk for a classic experience; the velvety liquid betters that crunchy goodness like magic. Want to up your dessert game? Serve them with a scoop of vanilla ice cream sandwiched between two cookies for a timeless ice cream treat—it’s summer all year round with this combo!
How to store and freeze
If you magically find yourself with leftovers (not likely, but just in case), these cookies can be stored in an airtight container at room temperature for up to a week. They might lose that fresh-baked texture but can be easily revived in the microwave for a few seconds. Want to make them ahead of time? Go for it! You can freeze the dough after scooping it into cookie balls. Just place those lovely rounds on a parchment-lined baking sheet, freeze until solid, and then transfer into a resealable bag. They’ll keep well for up to three months. When you're ready to bake, pop them straight into a preheated oven—no need to thaw!
Pro chef tips
Here’s where we add a sprinkle of magic!
- Always measure your flour carefully. Use the spoon-and-level method to ensure accuracy—fluffy cookies depend on it!
- If you want a deeper flavor, substitute half the granulated sugar with brown sugar—this will add a wonderful chewiness and caramel undertone.
- Use a cookie scoop to keep them uniform. This makes for even baking and a beautifully round shape.
- Consider adding a pinch of espresso powder to enhance the chocolatey flavor without it tasting like coffee—trust me, it's a game-changer!
Creative Twists
Feeling adventurous?
- Swap out the white chocolate chips for semi-sweet or dark chocolate for a richer flavor.
- Try adding mini marshmallows for a cookies-and-cream s’mores vibe—what's not to love?
- Experiment with different sandwich cookies; think mint or peanut butter Oreos for a creative spin.
- For a touch of zest, a sprinkle of sea salt on top just before baking can take these cookies to gourmet status.
Now it’s your turn to get creative!
FAQs
- What if I don’t have white chocolate chips? Feel free to use milk or dark chocolate chips instead—they’ll perform beautifully.
- Can I use gluten-free flour? Absolutely! Just ensure you choose a 1:1 gluten-free blend and adjust the moisture if necessary.
- How long does prep take? Expect about 15-20 minutes of prep time, then just a quick bake!
- Can I make them bigger? You absolutely can; just adjust the baking time (they might need an extra minute or two).
- Can I skip the cornstarch? While it's a key ingredient for texture, you can replace it with a bit more flour—but know it may alter the final cookie slightly!
After all is said and done, there’s something about baking that brings people together—it creates moments and memories as delightful as the cookies themselves. So, roll up those sleeves and dive into this magical cookies and cream adventure. Feel free to experiment, tweak the recipe, and make it your own! Your feedback or personal twists in the comments will only add to this vibrant cooking community we cherish. Happy baking!