There's something truly enchanting about the combination of chocolate and cookies, isn't there? As a home chef who's spent countless afternoons playing with flavors and textures, I can confidently say that these Fudgy Brownie Cookies hold a special place in my heart (and stomach!). I stumbled upon this recipe during a rainy weekend when I was craving something rich and chocolatey. Every bite is like a warm hug on a chilly day. Trust me, once you try these cookies, they’re bound to become a beloved staple in your own culinary repertoire.
Why you'll love this recipe
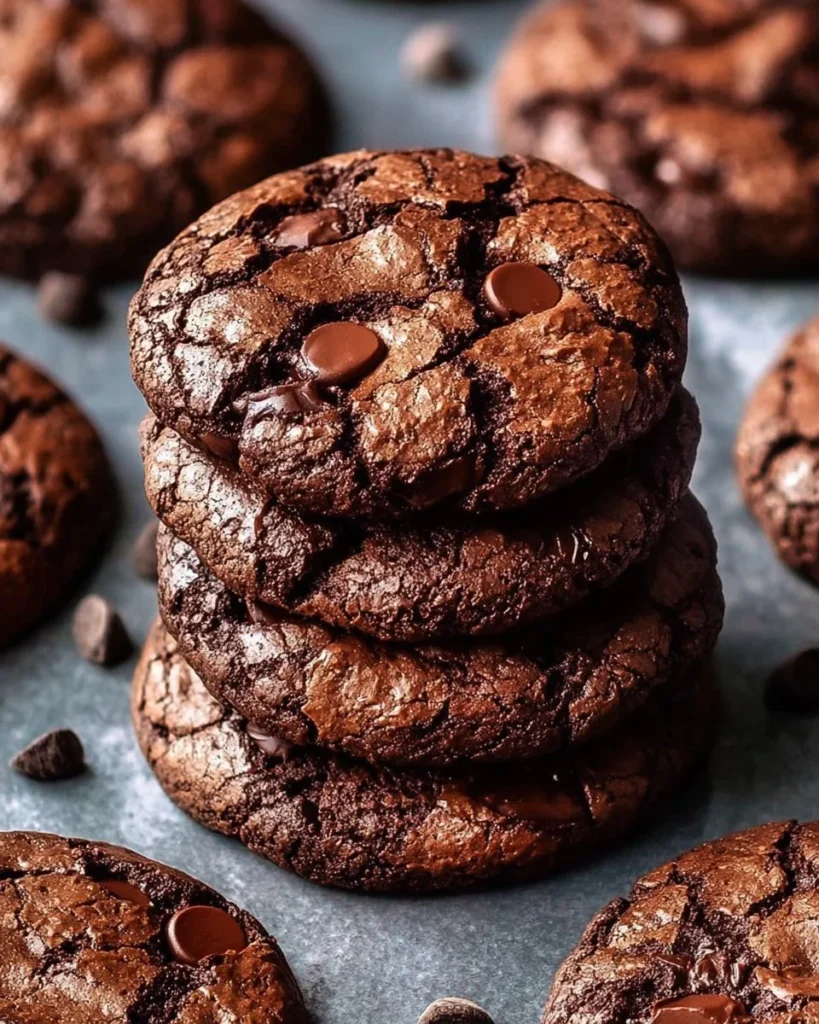
Let me share a little secret: these Fudgy Brownie Cookies redefine indulgence. Imagine sinking your teeth into a soft, chewy cookie that feels like biting into a brownie, rich and luscious without being overwhelmingly sweet. You'll love how easy they are to whip up—no fancy equipment or complicated techniques required. Plus, there’s a certain magic when you pull that golden-brown batch from the oven. The smell will draw in everyone in your house like bees to honey.
What's truly remarkable is the delicate balance of textures. The edges are slightly crisp, while the centers stay gooey and soft. And don't get me started on the chocolate chips—melting, gooey pockets of chocolate bliss. You might even find yourself sneaking a few before they're fully cooled (not that I’d judge, of course!). Perfect for gatherings, cozy nights in, or simply treating yourself, these cookies offer a delicious escape from the ordinary.
Key ingredients overview
To embark on this chocolatey adventure, let’s gather these essential ingredients that promise a delectable outcome:
-
All-purpose flour: This forms the structure of your cookies. Using all-purpose flour gives them that wonderful chewy texture, perfectly holding the rich fudginess inside.
-
Unsweetened cocoa powder: Cocoa powder packs a deep, dark flavor and adds richness to your cookies. Don’t try to substitute with sweetened cocoa—it just won’t do the trick!
-
Granulated sugar and brown sugar: This dynamic duo is essential. Granulated sugar provides structure, while brown sugar adds moisture and a slight caramel undertone. Trust me, don't skip either!
-
Unsalted butter: Butter is the heart of this recipe. For the best results, melt it down to infuse that rich flavor into your cookies. This is one place where quality makes a difference, so opt for the good stuff.
-
Large eggs: Vital for binding and giving your cookies that luscious texture. Fresh eggs work wonders here!
-
Vanilla extract: A splash of vanilla enhances the chocolate flavors beautifully. Use pure vanilla extract, if possible—it adds a depth of flavor that artificial vanilla can't replicate.
-
Semi-sweet chocolate chips: These little chips of joy are your finishing touch. They melt in the oven, creating pockets of chocolate goodness. Go for your favorite brand here—this is where you'll want to splurge a little.
Preparing Fudgy Brownie Cookies
Ready to dive into the baking process? Let’s make this as seamless and enjoyable as possible:
-
Preheat and prep: Start by preheating your oven to 350°F (175°C). Line two baking sheets with parchment paper—it makes cleanup a breeze and keeps your cookies from sticking.
-
Mix dry ingredients: In a large bowl, whisk together 1 cup of all-purpose flour, ½ cup of unsweetened cocoa powder, ¾ cup of granulated sugar, ¾ cup of brown sugar, and a pinch of salt. This not only combines the flavors but aerates the flour, making your cookies lighter.
-
Melt the butter: Next, melt ½ cup of unsalted butter in a medium-sized saucepan or microwave. Once melted, let it cool slightly before whisking in 2 large eggs and 1 teaspoon of vanilla extract. You're looking for a smooth, homogenous mixture.
-
Combine wet and dry: Pour the wet mix into the dry ingredients and stir gently until just blended. Resist the urge to overmix here—this is where the magic of fudgy texture lies!
-
Fold in chocolate chips: Gently fold in 1 cup of semi-sweet chocolate chips. Make sure they are evenly distributed—they’re the cherry on top, after all!
-
Scoop it out: Use a tablespoon to scoop out balls of dough onto the prepared baking sheets, spacing them about 2 inches apart.
-
Bake: Pop those beauties in the oven and bake for 10-12 minutes. You want the edges to look set but the centers to stay soft—trust me, they'll firm up as they cool.
Best way to enjoy it
Now that you're the proud creator of these fudgy wonders, how do you plan to enjoy them? Here are a few ideas:
-
Simple serve: Fresh out of the oven and slightly warm is the way to go. Pair each cookie with a glass of chilled milk or a steaming cup of coffee. Go ahead—revel in the classic combination!
-
Ice cream sandwich: Feeling adventurous? Sandwich a scoop of your favorite ice cream between two cookies for an indulgent treat. Vanilla bean, mint chocolate chip, or even salted caramel would complement the brownie flavors perfectly.
-
Garnish it up: Sprinkle a bit of sea salt atop the cookies right before serving to create a beautiful sweet-salty contrast. It’s a game changer!
How to store
The question of storage is vital for keeping your cookies fresh and delicious. Here’s how to do it right:
-
Room temperature: Once they’ve completely cooled, transfer your cookies to an airtight container. They’ll keep well at room temperature for about 3-4 days.
-
Refrigeration: If you want to prolong that enjoyment, you could pop them in the fridge for about a week. Just remember to allow them to come to room temperature before indulging so they regain some of that fudgy comfort.
-
Freezing: For longer storage, freeze them! Lay the cookies flat on a baking sheet to freeze individually, then transfer to a freezer-safe bag. They should be good for about 2-3 months. When you're ready, simply thaw at room temperature, or warm them briefly in the microwave.
Extra tips and advice
Every great recipe needs a few pro tips that transform it from good to spectacular:
-
Don’t skip resting: If you have time, let the cookie dough rest in the fridge for 30 minutes. This enhances the flavor and gives them a better texture.
-
Experiment with add-ins: Feeling daring? Toss in some chopped nuts or swap the semi-sweet chocolate chips for dark chocolate or white chocolate. It's all about what you love!
-
Be mindful of the bake time: Every oven is different, so keep an eye on your cookies as they bake. If they’re looking too cooked, it might be time to take them out even if the timer hasn’t gone off yet.
Creative Twists
Why not get adventurous and tailor this recipe to your taste? Here are a few variations:
-
Nutty delights: Add ½ cup of chopped walnuts or pecans for an extra crunch.
-
Spicy touch: A pinch of cayenne or cinnamon can add a delightful kick.
-
Flavor extraction: Use different extracts for unique spins—almond or coffee aren’t just for show; they can elevate those chocolaty flavors!
1 cup all-purpose flour
½ cup unsweetened cocoa powder
¾ cup granulated sugar
¾ cup brown sugar
½ cup unsalted butter
2 large eggs
1 tsp vanilla extract
1 cup semi-sweet chocolate chips
Preheat your oven to 350°F (175°C) and line two baking sheets with parchment paper.
In a large bowl, whisk together flour, cocoa powder, granulated sugar, brown sugar, and a pinch of salt.
In another bowl, melt the butter and mix it with eggs and vanilla until well combined.
Pour the wet mixture into the dry ingredients and stir gently until just blended. Avoid overmixing.
Fold in chocolate chips until evenly distributed.
Scoop tablespoon-sized balls onto the prepared baking sheets.
Bake for 10-12 minutes, until edges are set but centers remain soft.
Your questions answered
-
How long does it take to prep?
You’re looking at about 15 minutes to prep the ingredients and another 10-12 minutes for baking, depending on your oven.
-
Can I use whole wheat flour?
Absolutely! Just keep in mind that it may alter the texture slightly, making them denser.
-
What’s the best way to melt the butter?
You can melt it in the microwave in short bursts, but keep an eye on it to avoid popping! Alternatively, a slow melt on the stove works wonders.
-
Can I use different types of chocolate?
Go for it! Dark chocolate chips or even white chocolate can create a unique flavor profile. Just ensure to adjust the sugar if needed.
-
How do I know when they’re done?
Look for set edges and a glossy surface in the center. They’ll continue to cook on the baking sheet a bit after you take them out.
It’s time to roll up those sleeves and create some magic in your kitchen! I can’t wait for you to try this recipe. Don’t forget to share your thoughts and any tweaks you make; after all, we’re all learning and growing together in this delightful journey of cooking! So gather your ingredients, let your passion lead the way, and enjoy this tasty adventure!