There's something enchanting about baking cookies, don’t you think? The smell wafting through the kitchen, the warmth wrapping around you like a cozy blanket—it's a sweet escape from the everyday hustle. I remember the first time I tasted thumbprint cookies; it was at my grandma's house, where she would always have a stash of these gems sitting on the kitchen counter. With their delightful jam-filled centers and buttery sweetness, they immediately tugged at my heartstrings. Since then, they’ve become a staple in my baking repertoire, and today, I’m excited to share my tried-and-true recipe with you!
What makes this recipe special
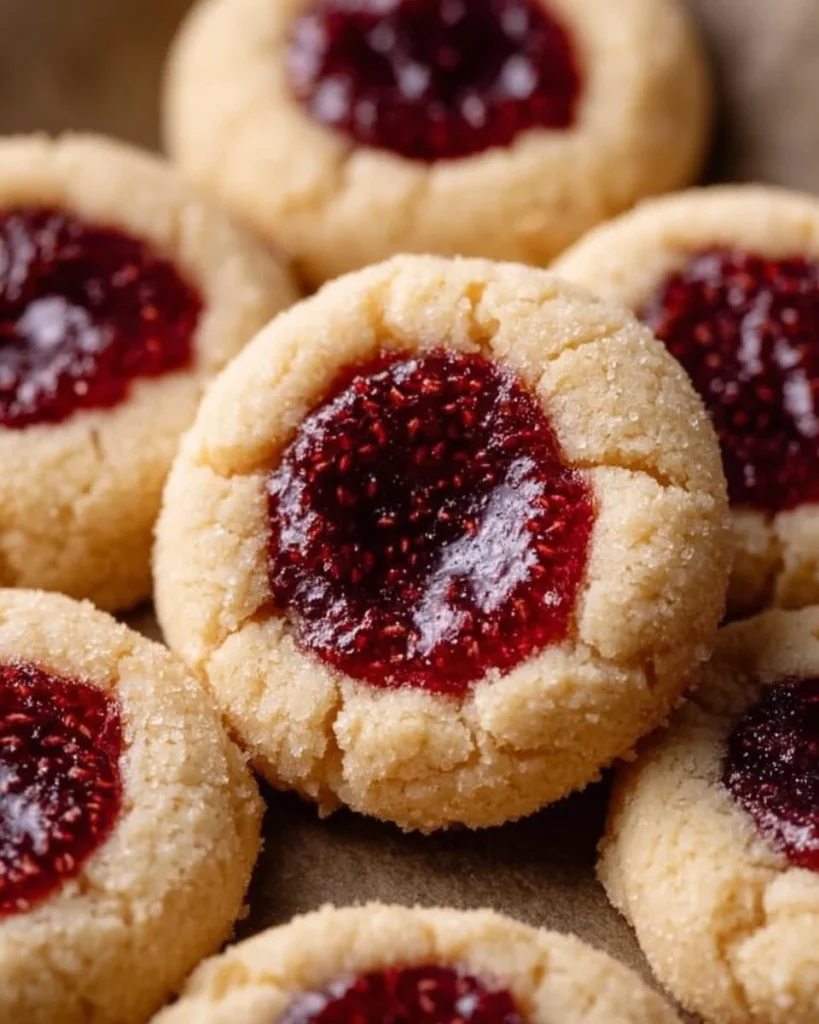
These thumbprint cookies marry crispy, tender edges with a gooey jam-filled center that's just heavenly. What I adore most about this recipe is its simplicity and versatility. You toss together some basic ingredients, roll them into balls, and voilà! You’re just a few minutes away from a plate of delightful treats. And here's a bonus: they are perfect for any occasion, whether it’s family gatherings, holidays, or just a cozy night in.
But there's something more than just taste—these cookies offer a comforting nostalgia that bites back to childhood. Picture yourself in a sunlit kitchen, your hands dusted with flour, the familiar tune of your favorite song playing in the background as you bake. This recipe doesn’t just fill your stomach; it warms your soul.
Gather these ingredients
Let’s dive into what you’ll need for these delicious delights:
-
1 cup (226 g) unsalted butter, softened: Room temperature butter is essential for achieving that rich creaminess. Don’t rush this step; a good butter is the heart of your cookies.
-
⅓ cup (70 g) sugar: Granulated sugar adds sweetness and helps give that crispiness you’ll love.
-
⅓ cup (70 g) light brown sugar, tightly packed: This is where the magic happens—the brown sugar gives a depth of flavor and a subtle caramel note to the cookies.
-
1 large egg yolk: Just the yolk adds richness without making the cookie too cakey.
-
¾ teaspoon vanilla extract: Oh, vanilla! It’s the perfume of the baking world, and trust me, you want that aroma infused in every bite.
-
2 ¼ cups (280 g) all-purpose flour: This is your structure—keep it fresh and, if you can, sift it to ensure there are no lumps.
-
2 teaspoons cornstarch: A bit of cornstarch takes these cookies to the next level—think tender and melt-in-your-mouth.
-
½ teaspoon salt: Don’t skimp on this; a pinch of salt enhances all the sweet flavors.
-
½ cup sugar for rolling (optional): This adds a lovely visual and crunchy texture to the cookies. You can skip it if desired, but I personally think it's a lovely touch!
-
⅓ cup (105 g) jam or preserves: Raspberry is a classic, but feel free to get creative with your favorite flavors!
Preparing Thumbprint Cookies Recipe
Now, let’s roll up our sleeves and get to it—making these cookies is easier than you might think!
-
Place 1 cup of softened unsalted butter in a stand mixer bowl (or a large bowl if you’re using a hand mixer). Beat it until creamy. You’re aiming for aeration and a smooth canvas!
-
Scrape down the sides and add in the ⅓ cup granulated sugar and ⅓ cup packed light brown sugar. Beat on medium-high speed for about 30 to 60 seconds until it’s fluffy and delicious.
-
Add in 1 egg yolk and ¾ teaspoon vanilla extract. Keep mixing until everything is wonderfully blended.
-
In a separate bowl, whisk together 2 ¼ cups flour, 2 teaspoons cornstarch, and ½ teaspoon salt. This will add structure and tenderness—essential for a perfect thumbprint cookie!
-
With the mixer on low speed, gradually add your flour mixture to the wet ingredients. The dough might seem a bit dry at first, but don’t worry. Scrape the bowl a couple of times and mix until combined. If it’s a struggle, finish bringing it together by hand for a little extra love.
-
Scoop out tablespoon-sized portions of dough and roll them into smooth balls. Keep them crack-free so your thumbprints will shine.
-
If you’re feeling fancy, roll each ball in the ½ cup sugar for extra flair and place them on a wax-paper lined sheet.
-
Using your thumb (or the back of a teaspoon), press a cute little indent into the center of each ball. That’s where the magic happens—hold space for that delicious jam!
-
Freeze these little beauties for 30 minutes. This helps them hold their shape during baking—trust the process!
-
Preheat the oven to 375°F (190°C). While that warms up, give your jam a quick zap in the microwave for 5-10 seconds—just enough to make it easily stirrable.
-
Fill each indent with the warmed jam, leaving a little room for magic to happen in the oven.
-
Pop them on a parchment-lined baking sheet (make sure you leave two inches between them) and bake for 11 minutes or until the edges turn golden brown.
-
Let them cool completely on the baking sheet before transferring. This step is crucial for firming them up and ensuring your jam doesn’t go sliding around.
Best way to enjoy it
While these cookies are absolute perfection on their own, there are a few fun ways to elevate your experience. Serve them with a cup of steaming tea or coffee for that delightful pick-me-up. Picture this—a cozy evening, the sun setting, and a plate of these soft cookies alongside your favorite brewed beverage. Pure bliss!
Feel free to get creative with your toppings, too. A sprinkle of chopped nuts on top of the jam, or a drizzle of melted chocolate after baking can add an exquisite touch.
How to store and freeze
Okay, let’s chat about storage. These cookies will last for about 4-5 days in an airtight container at room temperature. Just be sure to separate layers with wax paper to prevent them from sticking together.
If you’re feeling proactive and want to stash some for later, freeze the unbaked dough balls! Simply freeze them as directed, then pop them into a labeled freezer bag. When the cookie craving strikes, you can take them out and bake directly from the freezer—no need to thaw!
Extra tips and advice
Here are a few insider tips that I’ve gathered over the years:
-
Don’t skip chilling the dough. It’s key to preventing spreading and ensuring that beautiful shape.
-
Think about experimenting with different types of jam. Blueberry, apricot, or even a homemade filling can add unique flavors.
-
If you’re following a gluten-free diet, simply swap the flour with a 1:1 gluten-free blend.
Creative Twists
Variety is the spice of life, right? Here are a few variations to consider for your thumbprint cookies:
-
Chocolate Thumbprints: Swap out half of the flour for cocoa powder and fill the indents with melted chocolate instead of jam.
-
Nutty additions: Roll your dough balls in chopped nuts for an added crunch.
-
Savory treat: Try adding a pinch of herbs to your dough and fill with cheese spread or pesto for a savory spin—this could be a fun appetizer!
Common questions
-
Can I use margarine instead of butter?
- You can, but it might yield a slightly different texture and flavor.
-
What’s the best jam to use?
- Raspberry is a classic favorite, but go wild! Peach, apricot, or even chocolate spread can be delicious.
-
What’s the prep time for this recipe?
- Expect about 20 minutes to mix and roll the dough, plus 30 minutes of chilling time.
-
Can I make these in advance?
- Absolutely! These cookies freeze beautifully, both baked and unbaked.
-
What should I do if my dough is too crumbly?
- If it’s not coming together, a splash of milk or cream can help bind things. Just add a teaspoon at a time until it holds.
Baking is such a joyous activity, and these thumbprint cookies not only satisfy your sweet tooth, but they also create moments of happiness in every bite. What’s stopping you? Grab those ingredients, set the scene, and let your kitchen come alive with the warm embrace of sweet cookie goodness. I can't wait to hear how yours turn out!